A Vulkan + Dear ImGui Sandbox
Overview
For my first technical post I wanted to write about a topic that I have been trying to improve myself in for quite some time - Vulkan. Compared to other APIs that interface with GPUs, Vulkan chooses to be overly explicit to give programmers full control of how their application behaves. This extra verbosity makes the API very appealing for writing high-performance applications, because the device driver will have to deal with less overhead when running the appliction on the GPU.
However, this comes with the caveat that a lot more boilerplate code is required from the user to configure a rendering pipeline. So if you are a newcomer to Vulkan and have attempted to write your own renderer using Vulkan, you must have quickly realized how much code it takes to even get a single triangle rendered on screen.
Personally, this was always a large barrier to entry for learning Vulkan, but after a couple of running starts I believe I have finally overcome this problem. Now I want to make it easier for other newcomers to developing applications for Vulkan.
This is why I have created a small sandbox application, which is just a very basic version of Vulkan application that should allow anyone to get started writing Vulkan code. The codebase includes all of the logic to create a graphics pipeline with Vulkan to render a triangle on screen and also integrates Dear ImGui as a programmable GUI which can be used later on to interact with the application. My hope is that this will eliminate some of the initial hesitation for people who want to learn Vulkan.
This post is going to become a part of a series of entries that will describe how I approached the writing of deferred Vulkan renderer, so stay tuned for future posts.
Prerequisites
I am going to assume that you have familiarized yourself with some of the terminology from the Vulkan API and have experience writing a C++ application. I will not be going into all of the technical details for Vulkan or Dear ImGui, so if you want to read up on any topics discussed in this post I recommend you take a look at the References section.
Installation
For the installation I am going to assume you are working in a Linux environment, but all of the instructions should be easily transferable to other platforms.
Dependencies
I tried to keep the number of dependencies as low as possible, so that it is easy for any user to tailor the codebase to their own needs. However, in order to compile the code right off the bat you will need:
- A C++14 compiler toolchain
- CMake (3.16)
- Vulkan SDK (1.2)
- GLFW (3.3)
All of these dependencies are mandatory except for GLFW, which can be swapped out for another preferred cross-platform I/O handling library.
Building
Once you have installed all of the necessary dependencies you can download a copy of the repository or clone it using the following command:
git clone https://github.com/tstullich/vk-sandbox
After the download finishes change to the root of the repository, where you can build the source code:
mkdir build
cd build
cmake ..
make
If everything was built correctly, the renderer binary should be contained within the
/build/cmake-build-debug/src directory.
One important last step is to compile the GLSL shaders into SPIR-V binaries, which need
to be loaded by the renderer at runtime. Contained within the shaders/ directory is a
script called compile.sh that can be executed to compile the shaders. The script uses the
glslangValidator from the Vulkan SDK, so make sure that the binary is visible through
your $PATH variable. The compiled .spv binary files should be contained within the same
directory, if the compilation was successful.
Now you should have everything in place to run the program. Executing the renderer binary from the root directory should give you an output window with a triangle and UI as shown below.
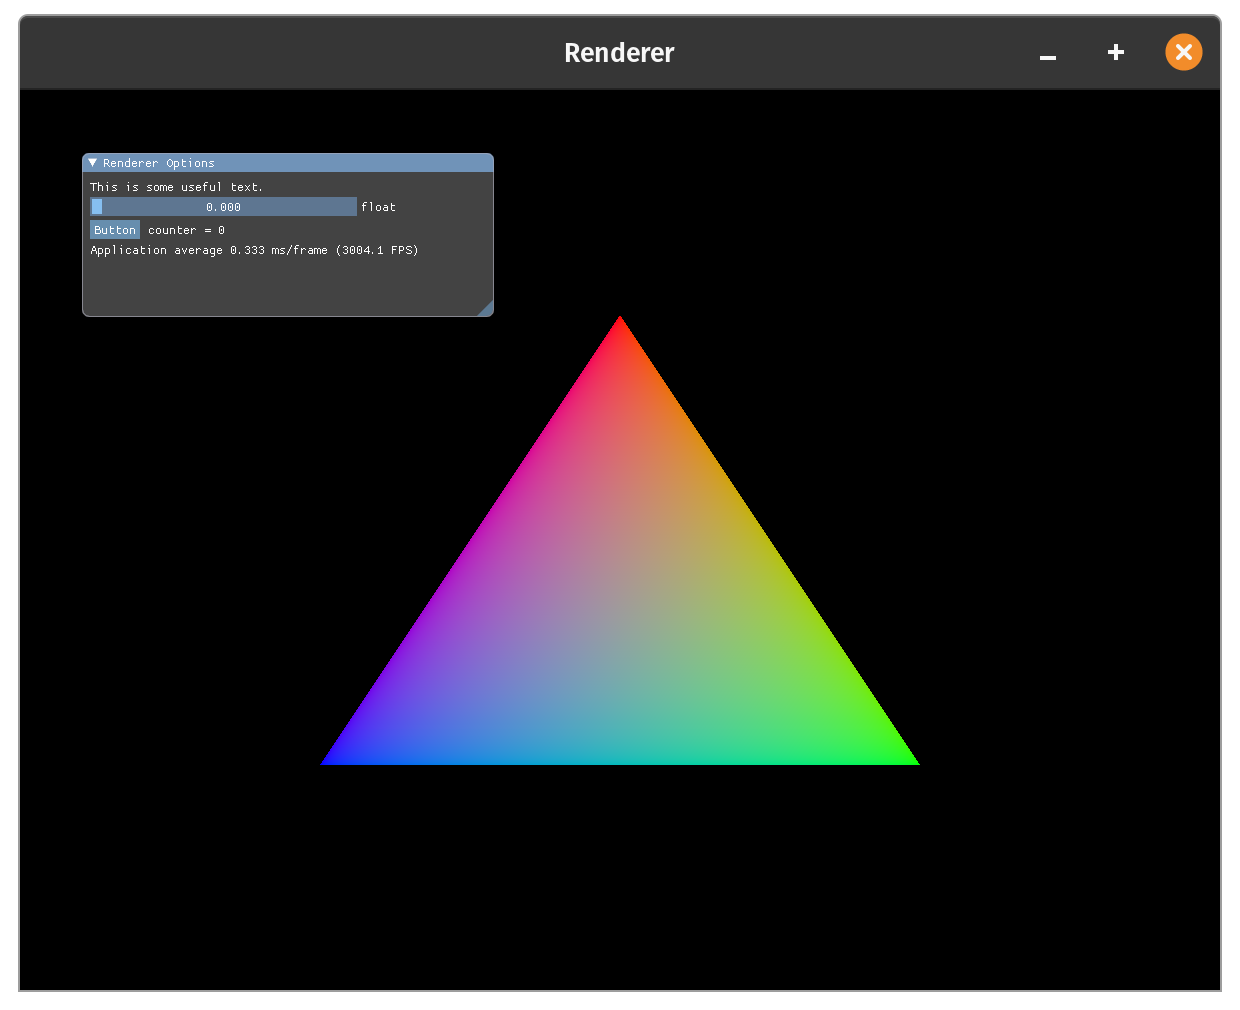
The first Vulkan triangle and Dear ImGui
Code Structure
The code for the renderer is located in application.h and application.cpp and is purposefully
kept in one class, so that it is easy to overview all of the components. This should
also make it easier to break up the components to be more compartmentalized in the future.
The logic in the code revolves mainly around initializing all of the necessary components
for the Vulkan pipeline and UI, and then running a rendering loop until the user exits
the program. What follows is a brief description of what goes into these parts.
Initialization
Within the Application constructor lies the entry point to all of the logic that is
needed to initialize the renderer. Starting off the initialization process is the initVulkan
function that contains all of the logic for setting up the Vulkan pipeline.
void Application::initVulkan() {
    createInstance();
    setupDebugMessenger();
    createSurface();
    physicalDevice = pickPhysicalDevice();
    getDeviceQueueIndices();
    createLogicalDevice();
    createSwapchain();
    createImageViews();
    createRenderPass();
    createGraphicsPipeline();
    createFramebuffers();
    createCommandPool();
    createCommandBuffers();
    createSyncObjects();
    createDescriptorPool();
}
Some components have a strict dependency on one another, so the ordering of the function calls is quite
important. Although I had Vulkan’s validation layers enabled from the start, some errors could not
be caught by them. This led to segmentation faults at runtime, which would occur when passing invalid
Vulkan handles to vkCreate() functions.
However, the Vulkan API is designed to follow strictly the same function call pattern,
which makes it easy to handoff the necessary data. All of the renderer’s createSomething()
functions follow more or less the same pattern of:
- Create a VK_COMPONENT struct
- Fill the struct with the necessary data
- Hand off the information struct to a
vkCreate()function - Check the
VK_RESULTif the function call succeeded
This repeated pattern is also the source of the great amount of boilerplate code. If you take a closer look at the code, you will find that a majority of it is occupied with creating and setting the data fields of the structs provided by the Vulkan API. This might be intimidating at first if you are unfamiliar with the API, but once you spend some time writing the code it actually becomes an easily repeated pattern.
Loading Shaders
A class to load SPIR-V shader code can also be found in shaderloader.h. Make sure to recompile
the shaders if any changes are made to them. There is a way to hook the execution of the shader
compile script into the build process using CMake, but at the time of writing this post this
is not supported by the sandbox.
User Interface
Getting Dear ImGui setup was trickier than writing the code for the renderer. The documentation for Dear ImGui is quite scattered and at times nonexistent, so finding reliable information on how to integrate the library with Vulkan took more time than expected. Luckily, I came across François Guthmann’s blog, which has a lot of useful information on how to solve this problem. I have linked it below in the References section if you are interested in more details.
The initUI function contains all of the logic initialize Dear ImGui for rendering.
void Application::initUI() {
    IMGUI_CHECKVERSION();
    ImGui::CreateContext();
    ImGui::StyleColorsDark();

    // Initialize some DearImgui specific resources
    createUIDescriptorPool();
    createUIRenderPass();
    createUICommandPool(&uiCommandPool,
                        VK_COMMAND_POOL_CREATE_RESET_COMMAND_BUFFER_BIT);
    createUICommandBuffers();
    createUIFramebuffers();

    // Provide bind points from Vulkan API
    ImGui_ImplGlfw_InitForVulkan(window, true);
    ImGui_ImplVulkan_InitInfo init_info = {};
    init_info.Instance = instance;
    init_info.PhysicalDevice = physicalDevice;
    init_info.Device = logicalDevice;
    init_info.QueueFamily = queueIndices.graphicsFamilyIndex;
    init_info.Queue = graphicsQueue;
    init_info.DescriptorPool = uiDescriptorPool;
    init_info.MinImageCount = imageCount;
    init_info.ImageCount = imageCount;
    ImGui_ImplVulkan_Init(&init_info, uiRenderPass);

    // Upload the fonts for DearImgui
    VkCommandBuffer commandBuffer = beginSingleTimeCommands(uiCommandPool);
    ImGui_ImplVulkan_CreateFontsTexture(commandBuffer);
    endSingleTimeCommands(commandBuffer, uiCommandPool);
    ImGui_ImplVulkan_DestroyFontUploadObjects();
}
The main realization I had to make was that Dear ImGui requires a number of extra resources, that were not immediately available in my initial code. Dear ImGui requires the user to setup an extra set of framebuffers, a render pass, and command buffers which in turn required the allocation of a command and descriptor pool. I was under the impression that I could reuse my command buffers and integrate some extra logic into the main render pass to make Dear ImGui work, but this is not the case. Without these resources the renderer would repeatedly crash at runtime, which was frustrating to debug.
Once the extra resources had been created, integrating the UI into the rendering loop was
quite simple. All that had to be done was to fill out the ImGui_ImplVulkan_InitInfo
struct and call the corresponding Dear ImGui helper functions, which took over the
rest of the initialization.
Rendering Loop
Now that all the necessary components are setup and ready to run, the main rendering loop
takes over. With the bulk of the code being dedicated to initializing the state of the
Vulkan pipeline, it should come as no surprise that the actual rendering portion is
comparatively short. The rendering loop is triggered through the run function, where we
poll GLFW for any input events from the keyboard, build the UI components in drawUI and eventually
reach the drawFrame function, which contains the main logic to render and present one frame.
Drawing a frame requires the following operations:
- Wait for the current frame’s fences
- Acquire the next presentable image from the swapchain
- Mark the current image as being in use
- Record Dear ImGui’s command buffer
- Submit the command buffers to the graphics queue
- Submit the image to the presentation queue
These steps are then executed at each loop iteration until the user exits the program.
Wrapup
Hopefully this post has given you a broad overview of what it takes to get started in writing a Vulkan application. Of course there is more code in the sandbox that I have not touched on, but at least you should be comfortable in navigating the code and have a feeling for the structure of a Vulkan application. If you have any questions, drop a comment below and I will try to answer it as soon as possible.
References
Here I have listed some links, which have helped me a lot in learning more about Vulkan and Dear ImGui. Perhaps they will be useful to you as well.
- vulkan-tutorial.com - Step-by-step introduction to writing a Vulkan renderer.
- Vulkan Specification - The Vulkan specification is a great resource for in-depth details of Vulkan.
- Dear ImGui Documentation - For more information on how to customize the UI.
- François Guthmann’s blog - A great blog post on how to integrate Dear ImGui into a Vulkan application.
Download Link
If you wish to use this sandbox project for your own projects, feel free to download the code from my Github.